

Quick Answer: Why Your Chicken Coop Heater Is Not Heating Up
If your chicken coop heater is not heating up, start with power, thermostat, and safety features before assuming it has failed. Check that the outlet has power, the in-cord switch is on, the set temperature is well above the current coop temperature, and the panel is upright and not in a tilt shutoff mode. Most radiant panels also feel only gently warm and heat the area directly in front of them, not the whole coop air, so give it time and check for radiant warmth a few inches away rather than expecting a hot surface.
Before buying, check your local ordinance or zoning rules for keeping backyard chickens, and choose a coop sized to predator-proof your flock.
Why This Happens
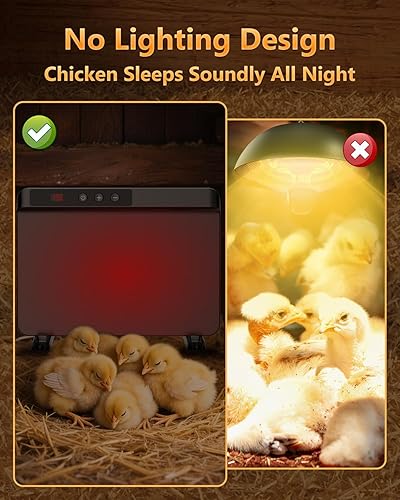
Radiant panel heaters are designed to warm birds and surfaces directly in front of the panel, not to heat all the air in the coop like a forced-air space heater. That means the panel surface often stays at a moderate, safe temperature and can feel underwhelming to the touch even when it is working normally within its limited radiant range.
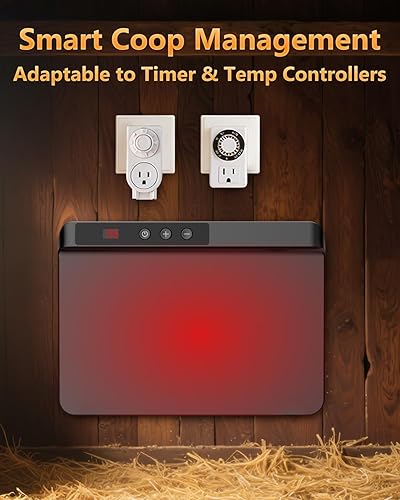
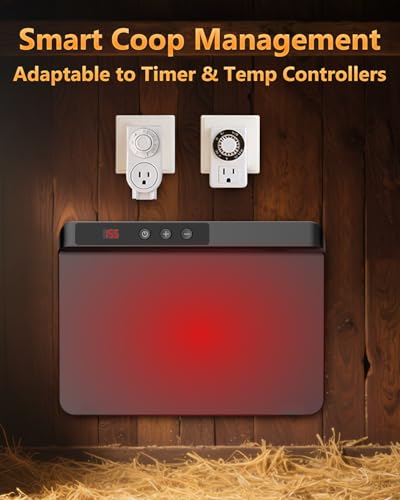
Thermostat and control settings are one of the most common reasons a heater seems dead. If the set temperature is at or below the ambient temperature near the sensor, the heater will stay off or run at very low output. Timer modes, cycle modes, or an external outlet timer or thermostatic plug can also pause heating without any obvious error light.
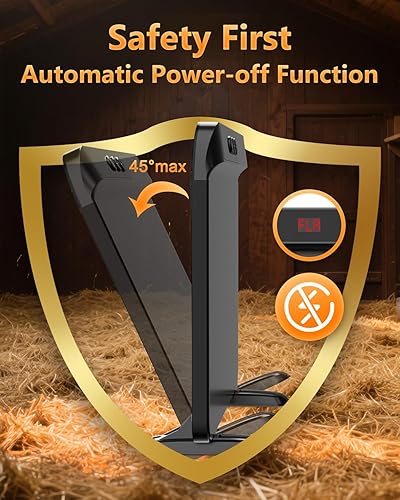
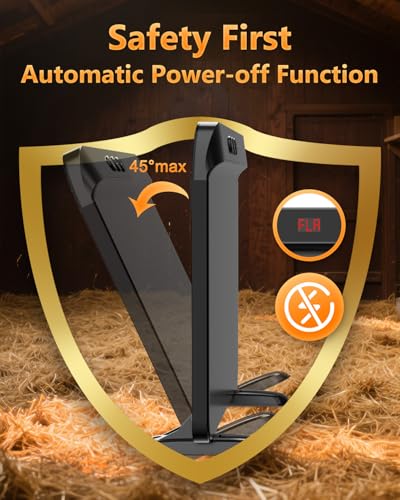
Power and safety shutoffs cause a lot of confusion as well. A tripped GFCI, a loose plug, a peck-damaged cord, or an outlet that lost power overnight will leave the panel cold. Many modern panels also include an anti-tilt or overheat protection that shuts the unit off if it is tipped past a certain angle or if ventilation holes are blocked, and it will not restart until it is placed upright and reset.
Coop size and placement can make a working heater seem ineffective. In a large, drafty, or very open coop, heat dissipates quickly and the effective radiant zone is often only a short distance in front of the panel. If the heater is mounted too high, too far from the roost, or in a windy corner, birds outside that zone will not feel much benefit. For ideas on enclosing and positioning your setup, see our guide to large metal chicken run setup and browse more Chicken & Shed tips for draft control.
Fixes to Try When Your Chicken Coop Heater Is Not Heating Up
Work through these checks in order, starting with the simplest and safest. Unplug the heater before handling cords or repositioning it, and avoid opening the housing or bypassing safety features.
- Verify power at the outlet and cord. Plug a phone charger or work light into the same outlet to confirm it is live, check that any in-cord switch or wall switch is on, reset any tripped GFCI, and visually inspect the full length of the cord for pecking damage, chew marks, or loose connections.
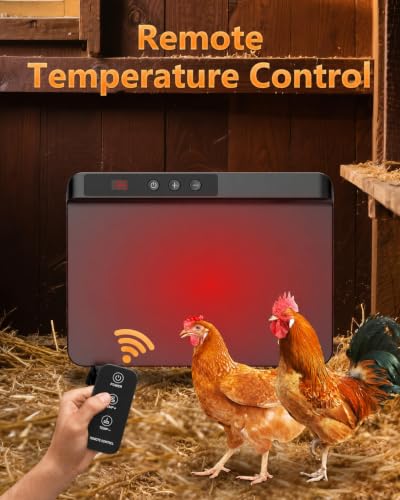
- Review thermostat, remote, and timer settings. Make sure the set temperature is clearly above the current coop temperature, exit any timer or cycle mode that pauses heating, and replace remote batteries or use the panel controls directly if the display does not respond. If you use an external thermostatic plug, confirm its own setting is not keeping power off.
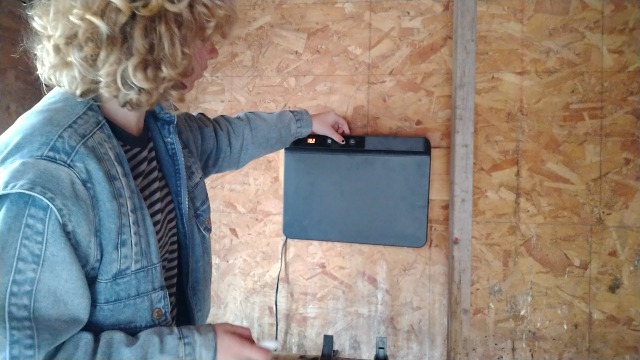
- Reset tilt and overheat protection. Place the panel upright on a flat, stable surface or securely wall-mounted as directed, unplug it for a minute, then plug it back in and re-select your temperature. Clear any bedding, feathers, or covers from ventilation holes and keep the panel uncovered.
- Give it time and check for radiant heat correctly. Let the panel run for at least 20 to 30 minutes in a relatively enclosed roost area, then hold your hand 6 to 12 inches in front of the panel to feel for gentle radiant warmth rather than touching the surface. If your model has a heat-sensitive sticker, watch for the expected color change as a visual cue.
- Improve placement and reduce heat loss. Move the heater to the primary roost or resting area where birds actually gather, lower drafts by closing large gaps, and avoid mounting it where wind blows directly across the face of the panel. For accurate ambient readings while you adjust, our guide on how to use a compost thermometer offers useful pointers on checking temperatures in outbuildings.
When to Consider Replacing It
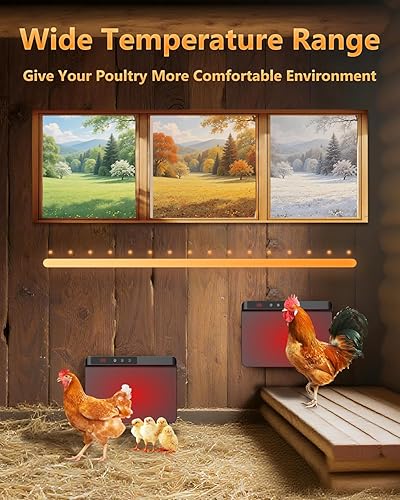
If you have confirmed the outlet is live, the cord is intact, the thermostat is set well above ambient, the panel is upright and reset, and you have given it a full warm-up period with no warmth, indicator light, or display response, the internal thermostat, sensor, or element may have failed. At that point, continued troubleshooting is often not practical, and replacement is usually simpler than repair. If you would rather replace it than keep troubleshooting, a panel with a clear LED display, remote adjustment, wide temperature range, and built-in anti-tilt shutoff can be a practical next option.
This article contains affiliate links. If you buy through one of our links, The Yardstead may earn a commission at no extra cost to you. Commissions never influence which products we recommend or how we rank them. Read our Affiliate Disclosure for details.
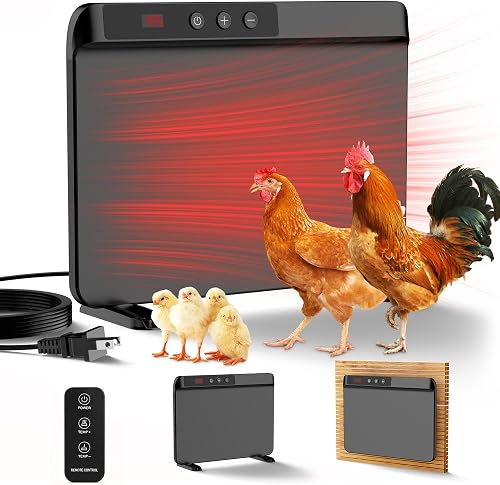
Prime TIMEBAL Chicken Coop Heater 200W UL Certified





As an Amazon Associate we earn from qualifying purchases. Product prices and availability are accurate as of the date/time indicated.
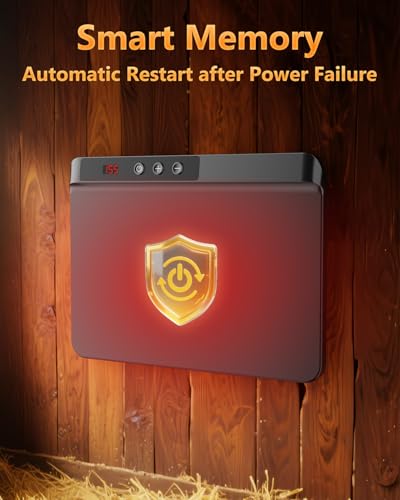
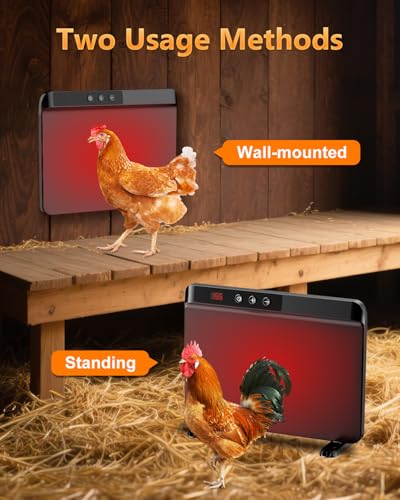
When you do replace, look for features that address the issues above, such as memory function that retains settings after a power outage, compatibility with timers or thermostatic plugs, and flexible wall-mount or standing installation so you can keep the heat focused where the flock roosts.
When to Skip This and Call a Professional
This DIY troubleshooting is not ideal for signs of an electrical problem, such as a repeatedly tripping breaker, a hot or discolored outlet, a burning smell, scorch marks, or a cord that is melted or exposed. That type of issue is not the right choice for a home fix and should be evaluated by a licensed electrician, and if the heater is still under warranty, skip this and contact the manufacturer or seller instead of opening the unit or modifying wiring.
Frequently Asked Questions
Why does my chicken coop heater feel only slightly warm?
Most coop radiant panels are intentionally limited to a moderate surface temperature for safety and to provide gentle, close-range warmth. Feeling slightly warm a few inches in front of the panel, with an indicator light on, is often normal operation rather than a failure.
How long should I wait to tell if my chicken coop heater is working?
Give the panel at least 20 to 30 minutes after plugging in and setting the temperature before you judge output, especially in cold weather. Check for radiant warmth directly in front of the panel in a sheltered spot, and make sure drafts are not carrying heat away immediately.
Why did my chicken coop heater stop working after a power outage?
One common cause is that the heater needs a manual restart or to reselect the temperature after power is restored, even if it has a memory function. Try unplugging it for a minute, plugging it back in, confirming the set temperature is above ambient, and checking any external timer or thermostatic plug that may be holding power off.

Write Your Review
No reviews yet. Be the first to share your experience!